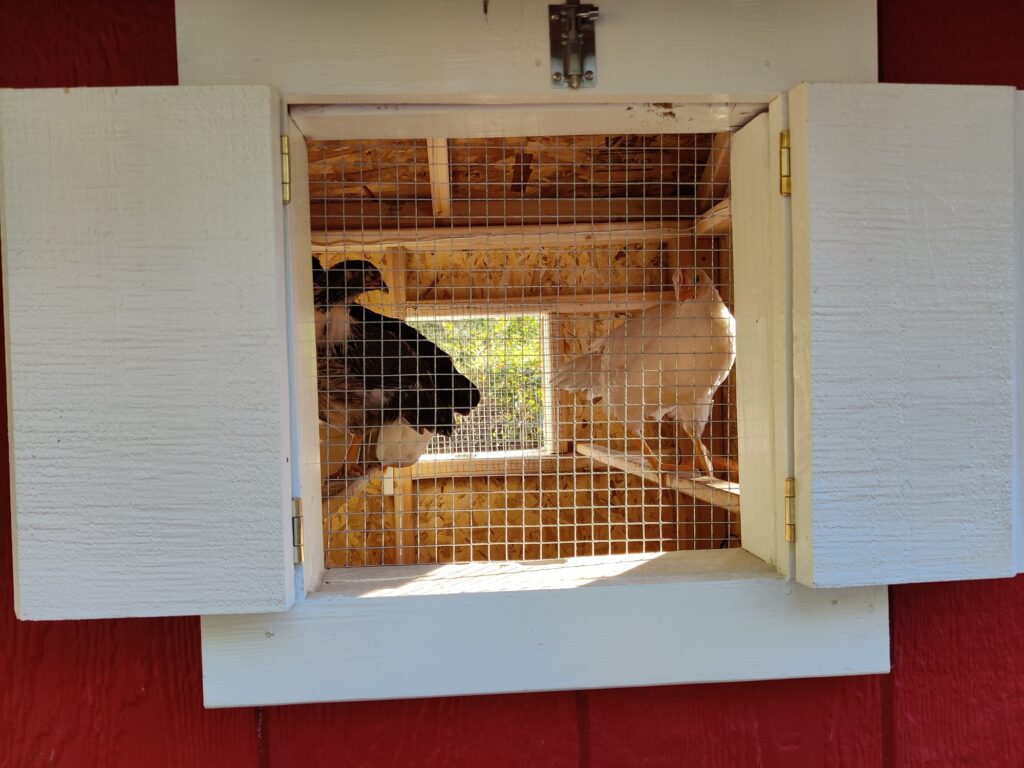
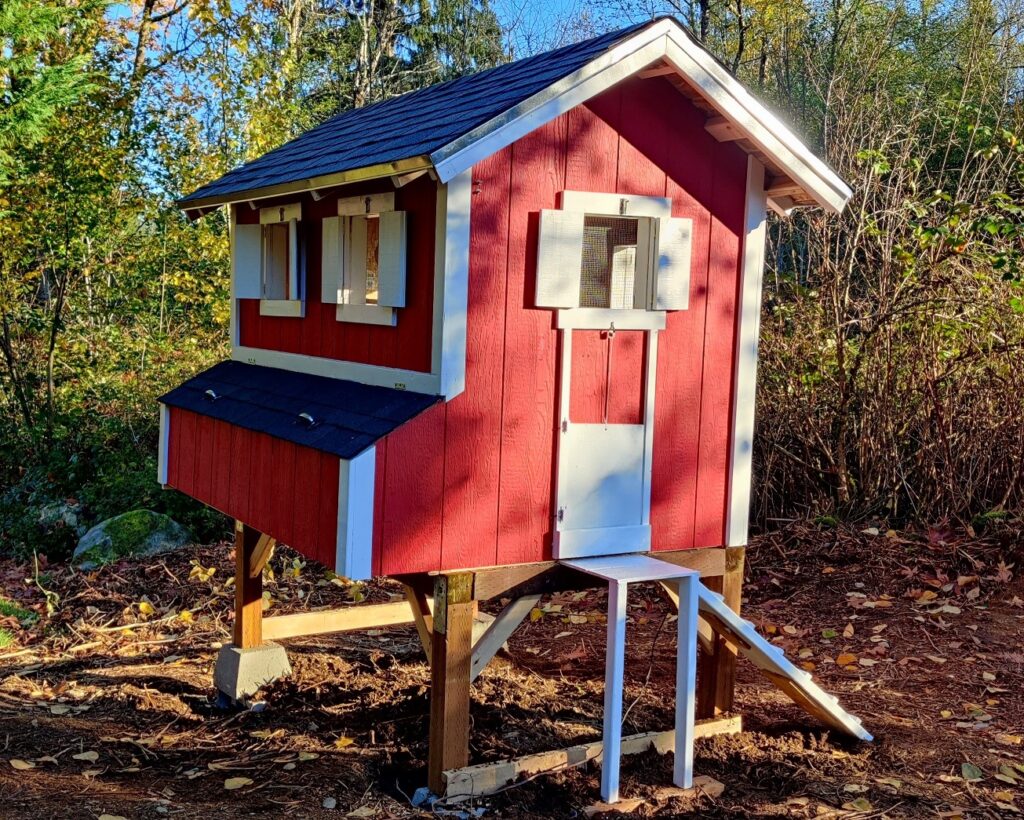
When Covid hit, we decided to join the chicken revolution. Mind you, this was not my idea. So one day I came home to 8 baby chicks in the garage. Of course, Theresa wanted some sort of chicken hut in the yard, so, not wanting to be outdone by our neighbors, I applied myself to building the mancHEN. Complete with shutters, water and power!
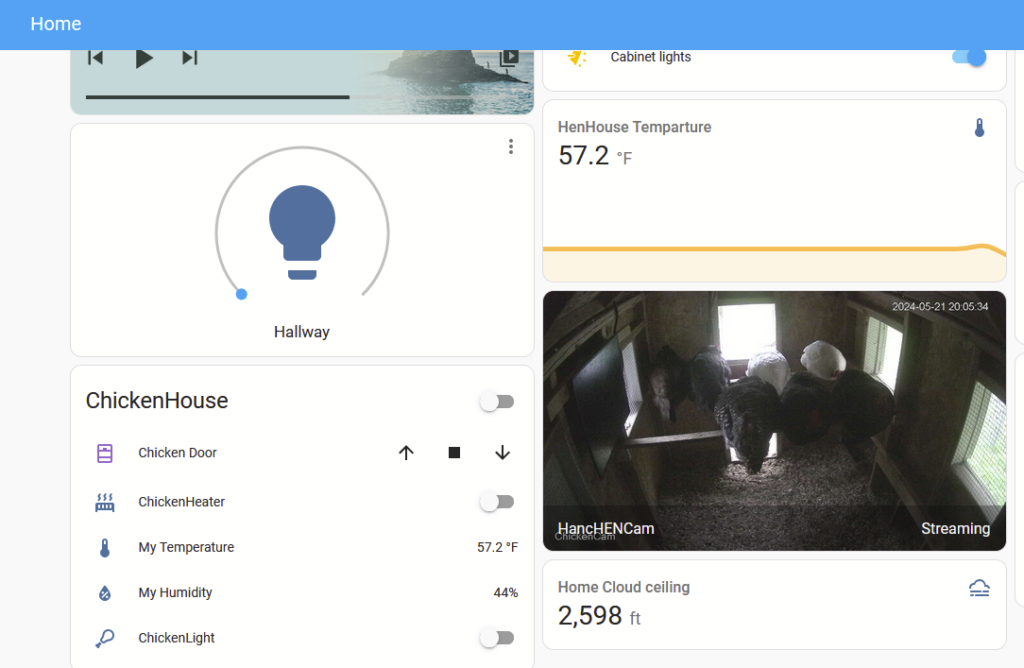
After some thought, I figured it would be fun to make it a smart chicken house, so we could monitor temperature, humidity and have a operational automatic door, as well as a streaming video feed, all controlled by the open source Home Assistant.
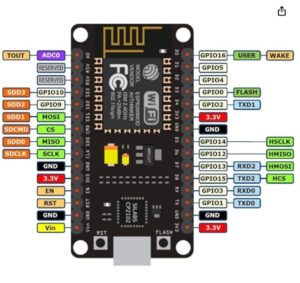
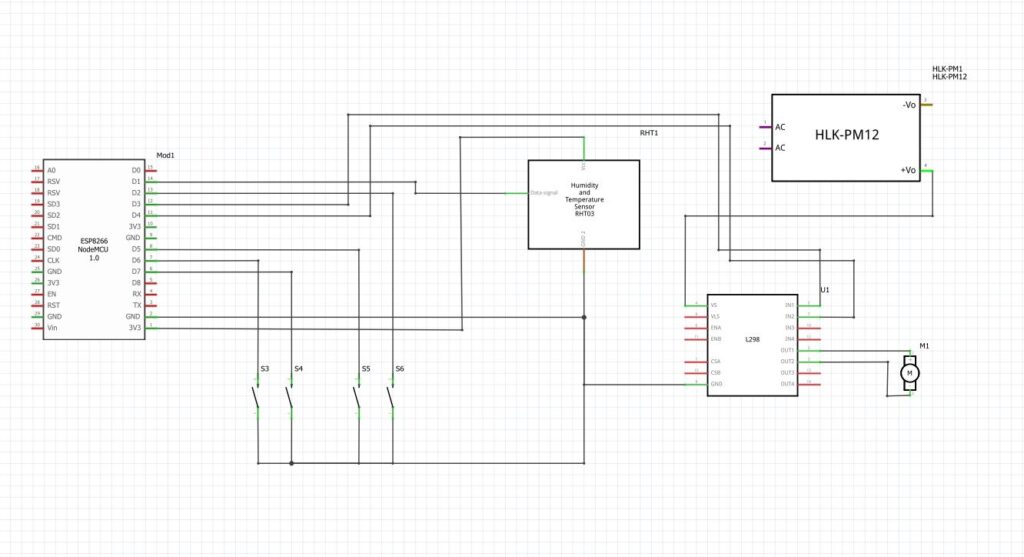
I started with a NodeMCU board (ESP8266 NodeMCU) as the main controller. It has wifi and enough GPIO’s to integrate with the motor driver, door stops and the environmental sensors. It also is very easy to code using ESPHome.
Concerning the door, I started out using a servo motor, but it was not powerful enough to lift the wood door, so I ended up using door stop sensors.

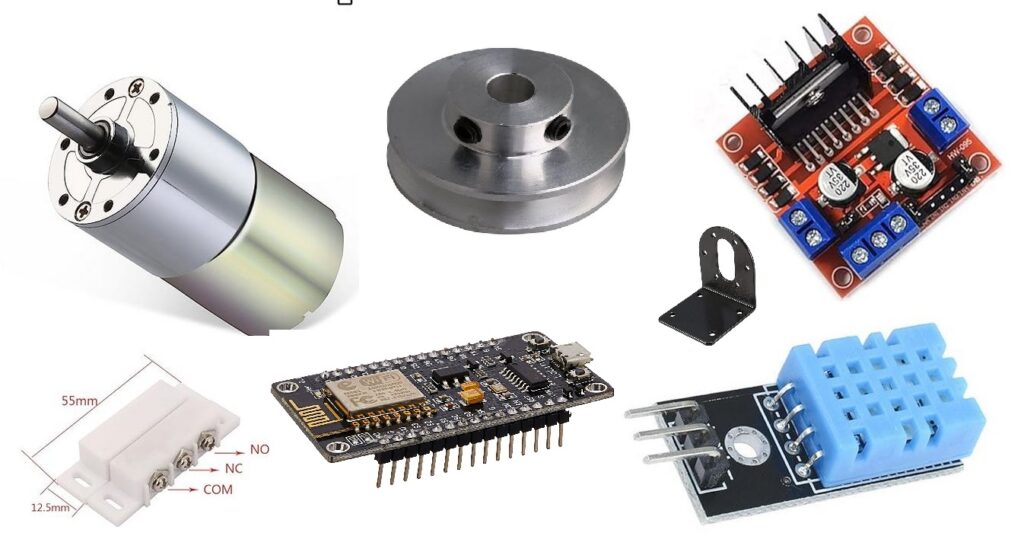
Here are the sensors and controllers used in the project
ESP8266 NodeMCU
12 Volt Motor
Standard Motor Bracket
Pulley
DHT11 Temp and Humidity Sensor
L298N Motor Drive Controller
Magnetic Door Stop Switches
Metal Push Button Switches (For manual operation)
Amcrest RTSP Camera (for live stream into home assistant)
And the ESPHome Code: Note that I have endstops at the top and bottom of the door, as well as timings in case the stops are missed. This is entered as a yaml config file in the ESP home plugin in Home Assistant:
esphome:
  name: chickenhouse2
  platform: ESP8266
  board: nodemcuv2

# Enable logging
logger:

# Enable Home Assistant API
api:

ota:
  password: "xxxxx"

wifi:
  ssid: "ChickenNet"
  password: "xxxx"
  use_address: 192.168.0.221
  manual_ip:
    static_ip: 192.168.0.221
    gateway: 192.168.0.1
    subnet: 255.255.255.0


web_server:
  port: 80

sensor:
  - platform: dht
    pin: D1
    temperature:
      name: "My Temperature"
    humidity:
      name: "My Humidity"
    update_interval: 10s
    model: DHT11

# Switches for motor control
switch:
  - platform: gpio
    pin: D4
    name: "MotorDriver1"
    id: motordriver1
    # Use interlocking to keep at most one of the two directions on
    interlock: &interlock_group [motordriver1, motordriver2]
    # If ESP reboots, do not attempt to restore switch state
    restore_mode: always off

  - platform: gpio
    pin: D3
    name: "MotorDriver2"
    id: motordriver2
    interlock: *interlock_group
    restore_mode: always off

#Sensors for door stops
binary_sensor:
  - platform: gpio
    pin:
      number: D2
      mode: INPUT_PULLUP
    id: door_open_sensor
    internal: True
    on_press:
      then:
        - logger.log: "Open Door Sensor Triggered"

  - platform: gpio
    pin:
      number: D5
      mode: INPUT_PULLUP
    id: door_closed_sensor
    internal: True
    on_press:
      then:
        - logger.log: "Close Door Sensor Triggered"
  - platform: gpio
    pin:
      number: D6
      mode: INPUT_PULLUP
    id: open_button
    internal: True
    on_press:
      then:
        - logger.log: "open_button Pushed"
        - cover.open: chicken_door
  - platform: gpio
    pin:
      number: D7
      mode: INPUT_PULLUP
    id: close_button
    internal: True
    on_press:
      then:
        - logger.log: "close_button Pushed"
        - cover.close: chicken_door
cover:
  - platform: endstop
    name: "Chicken Door"
    id: chicken_door

    open_action:
      - logger.log: "Open Requested"
      - switch.turn_off: motordriver2
      - switch.turn_on: motordriver1
    open_duration: 0.15min
    open_endstop: door_open_sensor

    close_action:
      - logger.log: "Close Requested"
      - switch.turn_off: motordriver1
      - switch.turn_on: motordriver2
    close_duration: 0.9min
    close_endstop: door_closed_sensor

    stop_action:
      - switch.turn_off: motordriver1
      - switch.turn_off: motordriver2
    max_duration: 0.10min
Also, in order to stream the RTSP camera, we add the camera info to Home Assistant’s config.yaml:
amcrest:
  - host: 192.168.0.236
    username: admin
    password: xxxxxx
    name: MancHenCam